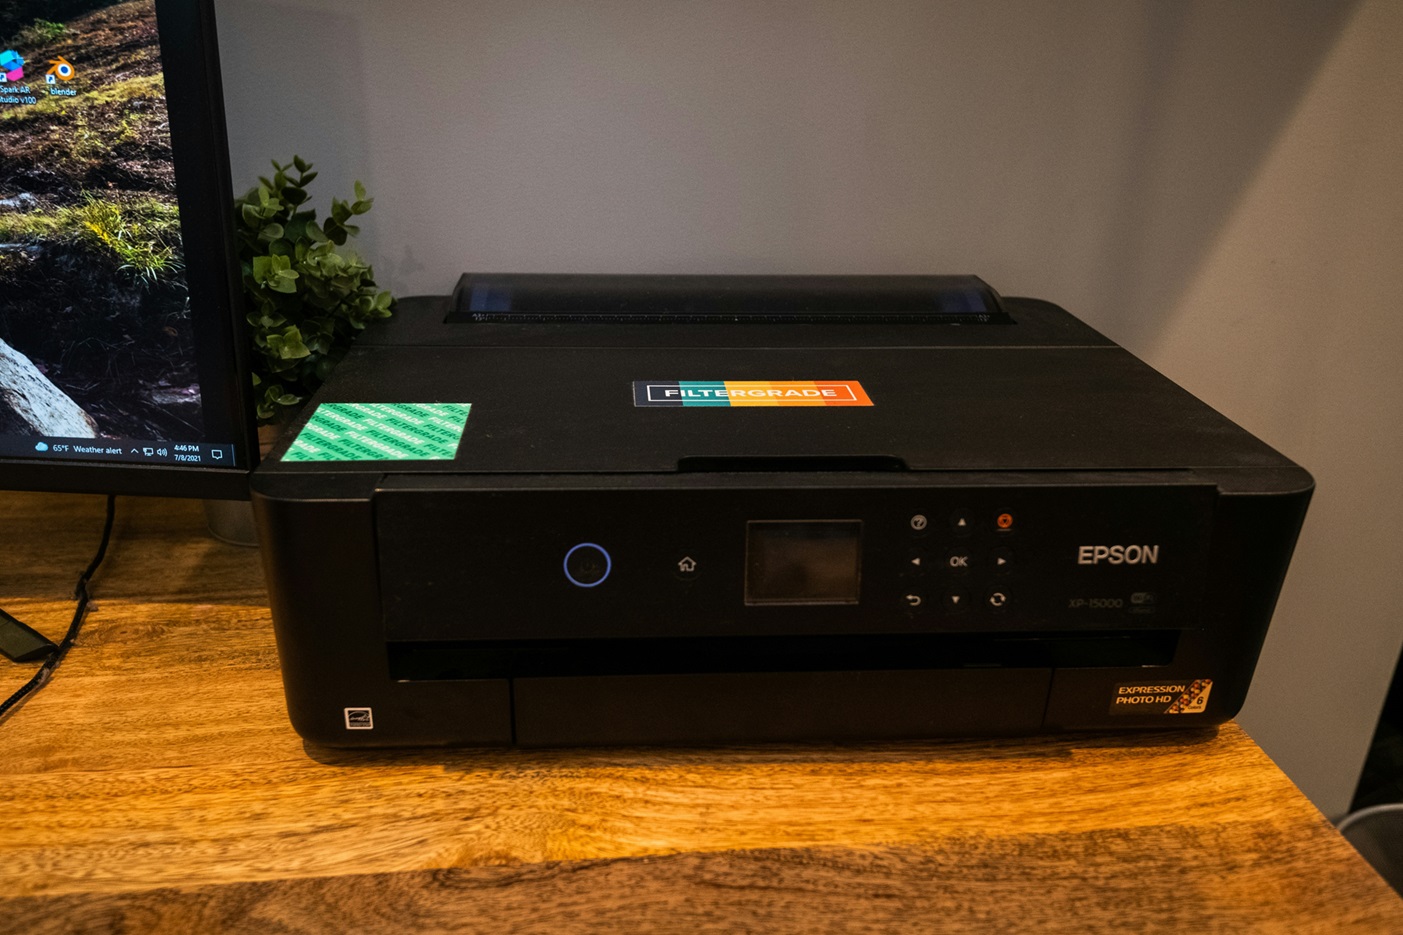
It’s amazing what modern printers can do beyond scanning and printing. Now, you can fax right from your printer if it has faxing capabilities. If you have an Epson printer and want to find out if you can use it for faxing, read the following guide to find out how.
Epson Printer Faxing Capabilities
Epson printers, particularly multifunction models, often come equipped with integrated fax capabilities. This means they not only print, scan, and copy but also allow you to send and receive faxes directly.
These printers connect to a phone line and use it to transmit your documents to any fax number you choose. It’s a convenient feature that merges traditional communication with modern technology, ensuring you can reach recipients who still rely on fax machines for document transmission.
Sending a Fax from an Epson Printer
To send a fax from an Epson printer, follow these steps:
Step 1: Ensure Printer Readiness
- Check Fax Capability: Confirm that your Epson printer model includes fax functions.
- Connect to Phone Line: Locate the fax port on your printer, usually labeled. Connect one end of the phone line to this port and the other to your wall jack. Ensure the connection is secure to avoid any disruptions during fax transmission.
Step 2: Document Preparation
- Prepare Your Document: Ensure the document is free from smudges or folds. Use standard 8.5″x11″ paper for best compatibility.
- Note on Document Quality: High-contrast documents with clear, legible text yield the best fax quality.
Step 3: Load the Document
- Positioning the Document: Open the document feeder tray on your Epson printer. Place your document face down or face up, depending on your model’s requirements. Look for indicators near the tray for guidance.
- Adjust for Multiple Pages: If faxing multiple pages, align the edges of your documents to prevent jams. Use the automatic document feeder (ADF) for smoother processing.
Step 4: Switch to Fax Mode
- Entering Fax Mode: Press the “Fax” button on your printer’s control panel. This action changes the printer’s operation mode from printing to faxing.
- Select Fax Settings: A menu might appear, allowing you to select fax settings, such as resolution and color options. Choose settings that match the nature of your document.
Step 5: Enter Recipient Information
- Dialing the Number: Use the numeric keypad on your printer to enter the recipient’s fax number. For international numbers, include the country code and area code.
- Speed Dialing: If you frequently fax to the same number, consider setting up a speed dial or contact list if your printer supports it.
Step 6: Adjust Fax Settings
- Configure Settings: Adjust settings like fax quality and whether to send your fax in color or black and white. Select “Fine” or “Photo” mode for documents with detailed images.
- Confirm Transmission Settings: Some printers allow you to set a delay for fax transmission or to verify the number before sending. Use these features to prevent errors.
Step 7: Initiate Fax Sending
- Send the Fax: Press the “Start” or “Send” button, often highlighted or green, to start the faxing process. Your printer will scan each page of the document, dial the recipient’s number, and transmit the data.
- Monitor the Process: Stay close to the printer in case it encounters any issues or requires additional input.
Step 8: Confirmation Receipt
- Confirmation Page: After the fax is sent, the printer typically prints out a confirmation page. This page includes details about the fax transmission, such as time, date, and whether the fax was successful.
- Error Reports: If the fax fails, review the error report for troubleshooting tips. Common issues include busy lines or incorrect fax numbers.
Additional Tips
- For the best quality, use clean and wrinkle-free documents. High-resolution settings are best for detailed images or fine text.
- If your document has multiple pages, use the automatic document feeder (ADF) if your printer has one. This allows you to fax multiple pages at once without feeding them one at a time.
- Including a fax cover sheet can provide the recipient with additional context about the fax and its importance.
Fax Troubleshooting for Epson Printers
Here are some essential steps to swiftly troubleshoot and resolve common faxing problems with your Epson printer.
- Verify the printer is connected to a working phone line.
- Review fax settings in the printer’s menu to ensure they are correctly configured.
- Make a regular phone call using the line to ensure it’s operational.
- Turn off the printer, wait a minute, and turn it back on.
- Ensure there are no stuck documents in the feeder.
- Check the manufacturer’s website for any firmware updates.
- If issues persist, contact Epson support for further assistance.
Alternative: Using FaxBurner App
If your Epson printer doesn’t have fax capabilities or you’re looking for a digital solution, consider using the FaxBurner app. The app allows you to send and receive faxes from your smartphone or computer, offering a convenient alternative to traditional faxing methods.
Here’s how to use it:
- Download and Sign Up: Download the FaxBurner app from your app store and sign up for an account.
- Prepare Your Document: Ensure your document is in a digital format. You can scan it using your phone or a scanner if it’s not already digital.
- Send the Fax: Within the app, enter the recipient’s fax number, attach your document, and hit send. FaxBurner takes care of the rest, converting your digital document into a fax and sending it over the phone line.
Fax in a Snap: Simplify Your Faxing Needs with FaxBurner
If you’re looking for a more flexible way to fax without the setup hassle that comes with printers, the FaxBurner app is easily the most convenient option.
With the app, you can turn your smartphone or computer into a fax machine, sending and receiving faxes electronically. You won’t need to worry about phone lines or hardware configurations – just a few taps or clicks, and your documents are on their way!


