
Faxing from a Scanner
Here’s how to easily fax documents from your scanner.
Step 1: Scan the Document
Open the scanner lid, place your document facing down on the glass, and secure the lid. Ensure that the document is straight and well-aligned, as any misalignment can result in an unclear image. Use the scanner’s interface to choose the scan option, select your desired resolution (typically in DPI, or dots per inch), and initiate the scan.
Step 2: Connect to FaxBurner
After scanning your document, upload it through the FaxBurner app. If you prefer to use our email-to-fax feature, just attach it to an email and send it to the provided fax number.
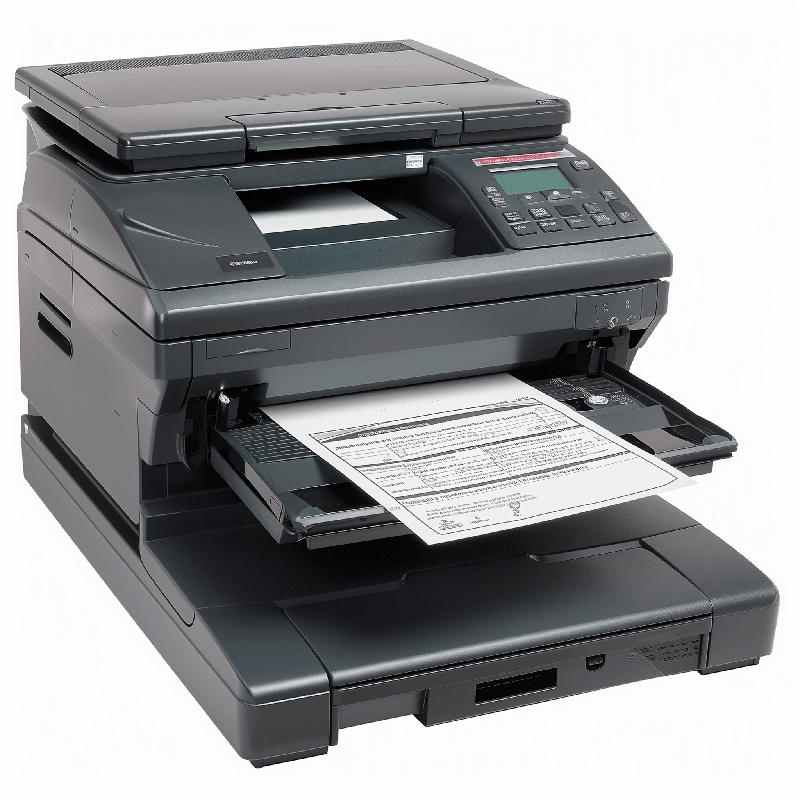
Alternatively, if you have a combined printer/scanner/fax machine, you can directly send the fax after scanning. This can be particularly useful for users who prefer using traditional fax machines with modern features.
Step 3: Enter the Fax Number
Next, enter the recipient’s fax number. Ensure this number is correct to avoid sending your document to the wrong recipient.
Step 4: Send and Confirm
After entering the fax number, send the document. Most services will provide a confirmation message once the fax has been successfully transmitted. Keep this confirmation for your records as proof of sending.
Troubleshooting Common Faxing Issues When Faxing from a Scanner
Even with a straightforward process, you might encounter some hurdles when faxing documents from a scanner. Here are some common issues and how to resolve them:
- Poor Quality Transmission: Sometimes, the document received by the recipient may appear blurry or incomplete. To prevent this, ensure your original document is free of smudges and is well-aligned in the scanner. Always use the highest possible quality settings on your scanner to ensure clarity.
- Connection Errors: If you face issues with connecting to your fax service, verify your internet connection or check the service status of your fax provider. Connection problems could result from server issues on the provider’s side or your own network issues.
- Document Size Issues: Large documents may fail to send due to file size limitations of your fax service. To address this, try reducing the resolution of your scan, compressing the file, or splitting the document into smaller sections before faxing.
Expert Tips for Enhancing the Quality of Your Scanned Documents
Ensuring your document appears professional when it reaches the recipient is important. So here are some tips to help you enhance document quality:
- Use Clear Fonts and Margins: Choose clear, readable fonts and ensure that your document has sufficient margins. This makes it easier to read once faxed and reduces the chance of cutting off important information.
- Check Scanner Settings: Different documents might require different scanner settings. Experiment with contrast and brightness to find the best balance for text-heavy or image-heavy pages.
- Pre-Scan Review: Before sending the final fax, do a pre-scan to check how your document appears in digital form. This step can help you catch any errors or issues with the layout that could affect the readability of your fax.
- Regular Maintenance: Keep your scanner clean and well-maintained. Dust and debris on the scanner glass can cause spots and lines on scanned documents, which can translate to poor quality in the transmitted fax.